Choosing the right kitchen layout for an Australian home depends on the size and shape of the room, the number of cooks, how often you entertain, and whether you plan to age in place. A galley can squeeze maximum efficiency from a narrow terrace, an island can anchor an open-plan living zone, and an L shape can balance storage and seating while keeping circulation clear. The ideal plan blends workflow, storage, ventilation, energy efficiency and Australian regulatory compliance, then matches those factors to budget and style. By the end of this guide you will understand the strengths of each common layout, the clearances that matter, and the steps to test a floor plan before you take the first tile off the splashback.
How to choose the best kitchen layout
Begin by measuring the internal wall length, ceiling height, window positions, and doorway widths. Map every existing plumbing point, power outlet, gas connection and extraction duct. Note the direction of door swings and whether any walls are load bearing. Think about who cooks and when. A single cook who prepares quick mid-week meals will favour a compact triangle that keeps sink, cooktop and fridge close. A family that loves baking together will need wider aisles and twin preparation zones. If your household hosts Sunday lunches, an island with stool seating can double as a serving bench and social hub. Future accessibility is another filter. Lower benches, pull-out pantries and at least 1550 millimetres of turning space help wheelchair users or anyone pushing a pram or walking frame. Finally, check local council and National Construction Code requirements for ventilation, waterproofing and electrical safety before locking in a plan.
The main types of kitchen layouts
One-wall kitchen
A one-wall kitchen lines up every cabinet, appliance and service along a single run. It suits studios, secondary dwellings and compact apartments. With no corner cabinets, installation can be simpler and cheaper, although storage often relies on taller overhead cupboards. Workflow can feel less efficient because the cook must step side to side rather than pivot between zones. Adding a parallel island or dining table can create extra bench space if the room is wide enough for at least 900 millimetres of standing clearance either side.
Galley kitchen
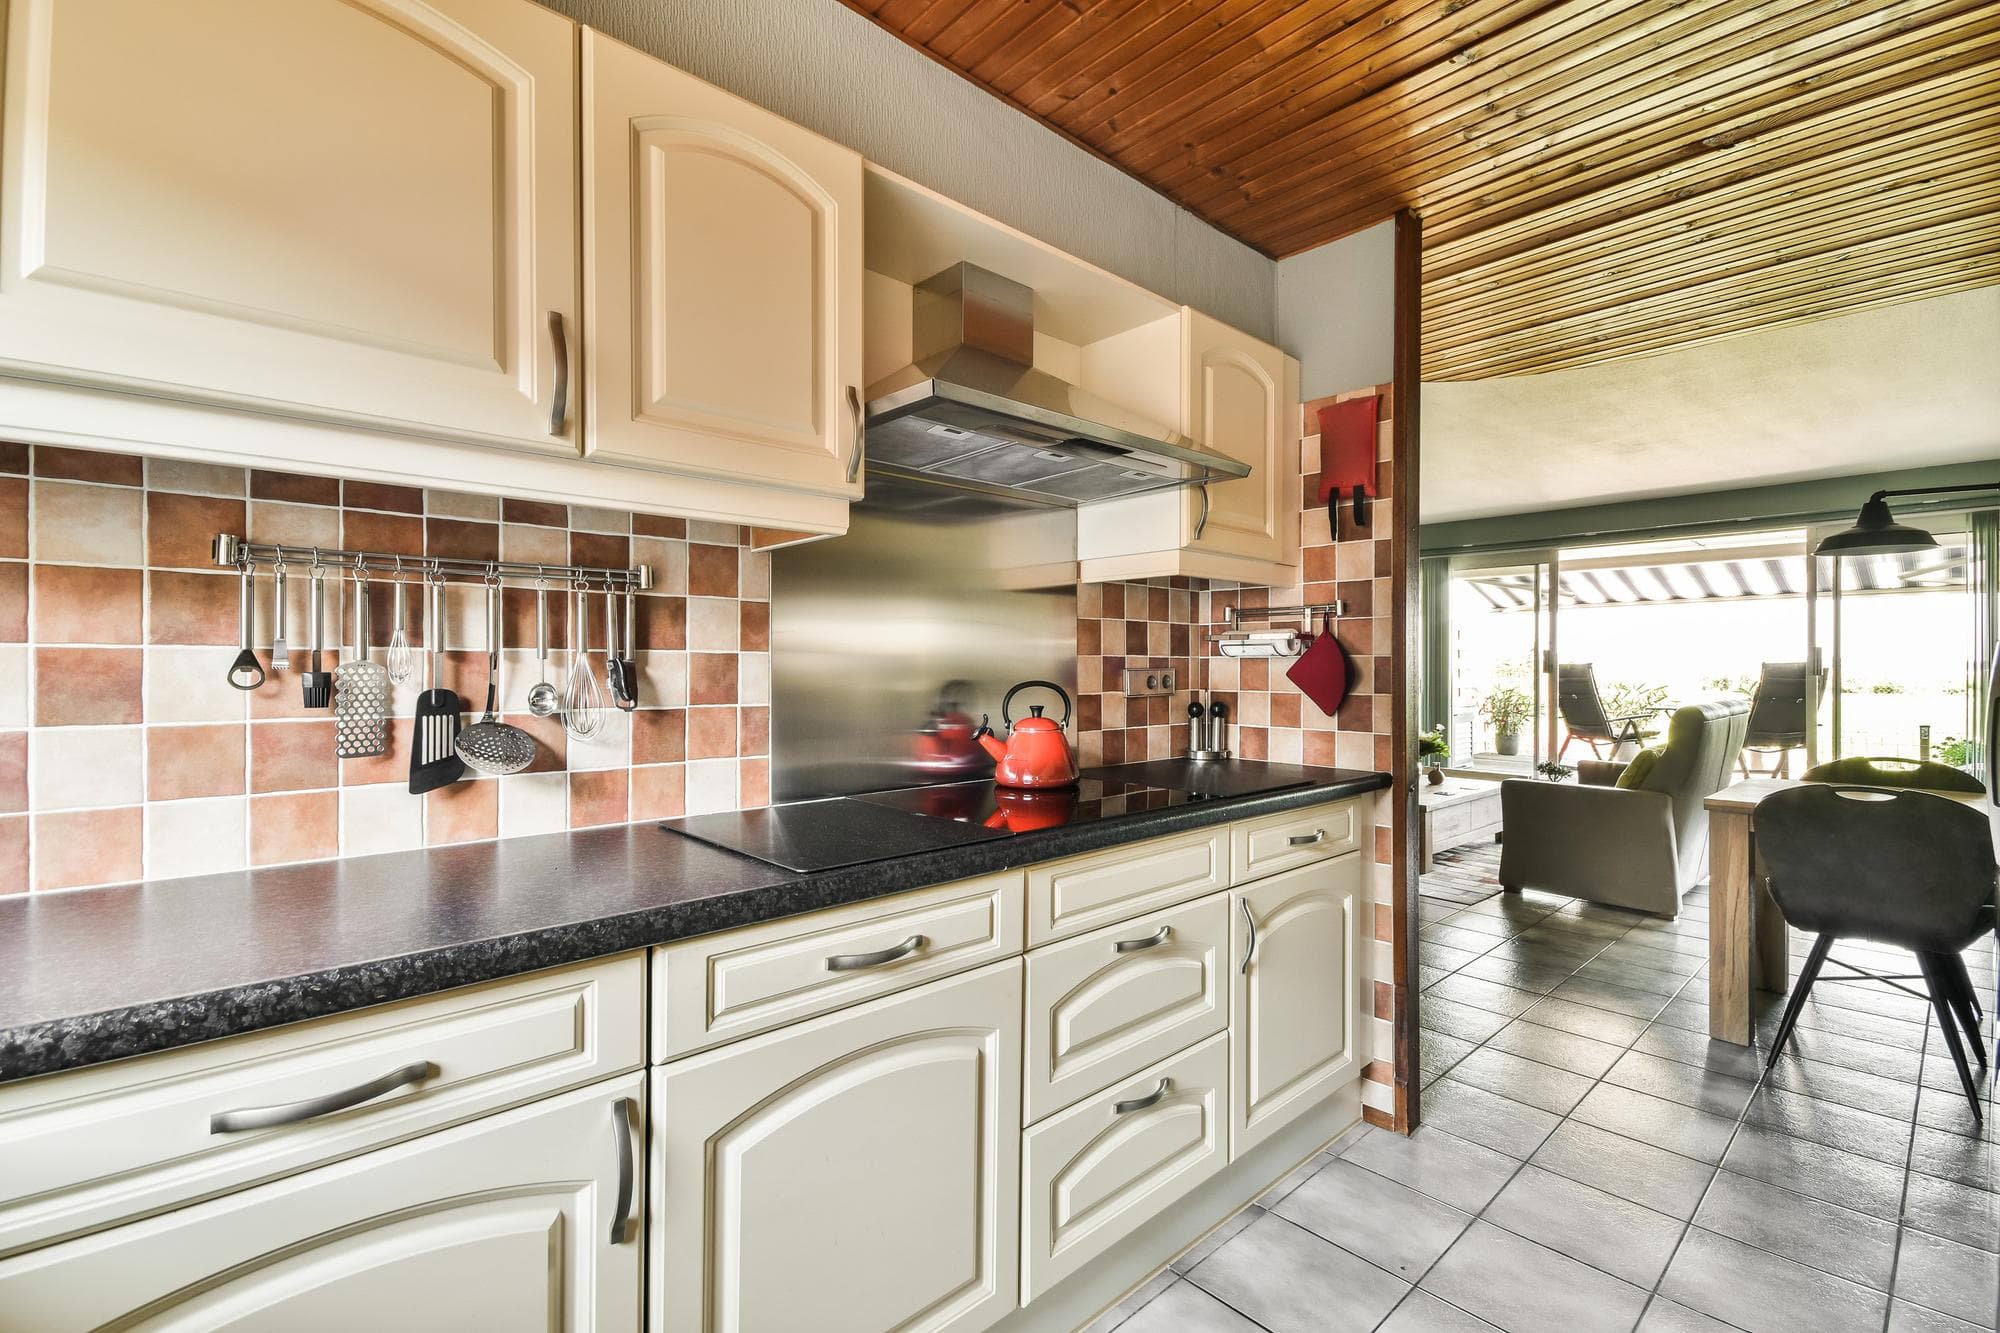
A galley places two rows of cabinets opposite each other, forming a corridor that keeps everything within arm’s reach. It is widely used in terraces and narrow new builds. Aim for a walkway of 1000 to 1200 millimetres between benches so two people can pass without bumping hips. Keep the sink and cooktop on one run to simplify plumbing and ventilation, then reserve the opposite run for preparation and storage. Natural light at one end of the galley can relieve the tunnel effect, and a glazed splashback can bounce extra daylight into the zone.
L-shaped kitchen
The L shape uses two adjoining walls, leaving the remaining sides open to dining or living areas. It suits detached houses, townhouses and open-plan renovations where the cook wants to stay connected with guests. Corner storage can bite into the budget with mechanisms such as rotating trays or pull-out shelves, yet the extra capacity often outweighs the cost. If floor space allows, an island or breakfast bar can sit opposite the long leg of the L, creating a triangle that eases traffic flow.
U-shaped kitchen
A U shape wraps three walls or two walls plus a peninsula around the cook. Storage and bench space soar, making this a favourite for avid cooks or large families. The opening of the U must stay clear, so plan at least 1000 millimetres between facing cabinets. Watch corner congestion. Two cooks at right-angle benches can collide if drawer and dishwasher doors open simultaneously. Good task lighting in each arm of the U also prevents shadowy corners.
Peninsula kitchen
A peninsula is an L or U that extends a bench into the room while keeping one end attached to a wall or tall cabinet. It delivers island benefits such as stool seating, buffet space and easy conversation without needing four-sided circulation. Because traffic passes on only three sides, a peninsula can fit kitchens that fall just short of the width needed for a freestanding island. Allow at least 900 millimetres between the free end of the peninsula and the opposite obstacle or wall.
Island kitchen
The island remains the hero of many Australian display homes. It fosters social cooking, hides a second sink or dishwasher from view of guests and provides casual dining in one gesture. Clearances must be generous. Measure 1000 to 1200 millimetres between the island and surrounding benches or walls so appliance doors, humans and pets can move safely. Taller ceiling bulkheads or a dropped soffit can house ducted extraction if the cooktop sits on the island. Remember, adding plumbing under a slab can increase cost, so weigh aesthetic goals against budget.
Kitchen layout comparison
| Layout type | Best for | Storage capacity | Entertaining | Small rooms | Renovation complexity | Main drawback |
|---|---|---|---|---|---|---|
| One-wall | Studios, secondary dwellings | Low to medium | Limited | Excellent | Low | Narrow bench depth can cramp prep |
| Galley | Narrow terraces, serious cooks | Medium to high | Moderate | Good | Medium | Tunnel effect without light |
| L shape | Open-plan living, families | Medium | High | Fair | Medium | Corner storage costs rise |
| U shape | Large family homes | High | Medium | Poor | High | Risk of corner congestion |
| Peninsula | Mid-size rooms needing social bench | Medium to high | High | Fair | Medium | Traffic limited to three sides |
| Island | Wide open rooms, entertainers | Medium to high | Very high | Poor | High | Requires generous circulation |
Kitchen dimensions and clearance planning
Work aisles where a cook stands in front of a bench or appliance should span at least 1000 millimetres. Walkways that carry through traffic need 1200 millimetres or more. If a wheelchair or mobility aid must turn, 1550 millimetres of clear circle assists manoeuvring, matching the intent of AS 1428 for access and mobility. Around an island, leave 1100 millimetres between the benchtop edge and any opposing drawer or wall. Seating overhangs should project 300 millimetres for knee room, plus 600 millimetres of width per stool to avoid elbow battles. Landing space beside the fridge, oven and cooktop improves safety. A minimum of 400 millimetres on the handle side of the fridge keeps groceries off the floor, while 300 millimetres on either side of the cooktop provides staging for hot pans. Always confirm exact appliance manufacturers’ clearances and any local code variations before framing begins.
The work triangle and modern work zones
The traditional triangle positions sink, cooktop and fridge at the points of an imaginary shape no shorter than four metres and no longer than seven. The logic remains sound because it limits unnecessary steps, yet modern households often introduce extra gear such as steam ovens, air fryers and espresso machines. Work zones extend the concept. A dedicated storage zone can group fridge, pantry and bulk dry goods. A preparation zone collects cutting boards, knives and mixing bowls near a clear bench. A cooking zone clusters ovens, cooktop and microwave. A cleaning zone pairs the sink with dishwasher, bins and towel rails. Mapping zones across any of the six layout types ensures efficiency even when multiple people share the kitchen or when one zone needs a deep clean without blocking another.
Best kitchen layouts for Australian homes
Small apartments often thrive on a one-wall or galley plan that leaves precious floor area for living space. Narrow terraces can push the galley against one party wall and open the opposite side with a pass-through to the dining room, borrowing light and air. Open-plan project homes love an island anchored by a back wall of tall cabinets that swallow fridges and pantry goods, keeping the benchtops free. Older cottages with lean-to kitchens can benefit from an L shape that slides under existing windows and exposes original brickwork as a character feature. Large family kitchens may stretch to a U with a separate butler’s pantry that houses the bulkier appliances. For accessibility, consider a straight run with adjustable bench heights or a wider galley to ensure clear turning circles and knee clearance beneath the sink.
Where to place appliances
Place the refrigerator at the entry so hungry teenagers can raid it without crossing the cook’s path. Keep the sink within a step of the dishwasher to avoid dripping plates across the floor. A cooktop against an external wall simplifies flue runs for a ducted rangehood, reducing noise and grease build up. Wall ovens at chest height reduce bending, while a microwave placed just below eye level suits most users including children learning to heat leftovers. Hide smaller appliances in an appliance garage or a tall cabinet with bi-fold doors to maintain uncluttered benches. Every fixed appliance needs a dedicated circuit under AS NZS 3000, and any gas cooktop calls for licensed installation and compliance with clearances to combustible surfaces.
Kitchen layout mistakes to avoid
Insufficient clearance is the silent killer of workflow. An island that sits 850 millimetres from the sink bench might look fine on paper yet blocks two way traffic as soon as doors open. Relocating a sink without considering fall for drainage can lead to noisy macerators or illegal pipe gradients. Forgetting to provide a landing shelf beside a wall oven invites burns when the roast leg of lamb has nowhere to rest. Mounting a rangehood in recirculating mode without carbon filters quickly coats joinery in grease and voids some appliance warranties. Cutting corners on task lighting leaves the cook chopped in shadow, even under generous downlights.
Cost of changing a kitchen layout in Australia
Budgets vary by state, access and specification, yet recent case studies give a realistic range. A straight swap of cabinets on an existing footprint in a metropolitan area can begin around twenty five thousand dollars including mid-tier appliances. Shifting plumbing and adding an engineered stone island nudges the tally closer to forty thousand dollars. Full structural changes that remove walls, reroute gas, add skylights and upgrade switchboards often land between sixty and ninety thousand dollars before furnishing. Cabinetry and benchtops remain the largest slice, sometimes half of the total. Premium integrated appliances, custom made rangehood shrouds and designer tapware can inflate expenses quickly. Always allow a contingency of ten per cent for unforeseen framing or asbestos issues found once demolition starts.
Kitchen layout planning checklist
Record exact room measurements from finished surface to finished surface. Mark windows including sill heights to check appliance clearances. Note any bulkheads that reduce usable wall height. Write down existing plumbing points and whether they feed hot, cold or recycled water. Photograph electrical points and identify the switchboard capacity for extra circuits. Gather appliance dimensions from current or future models and include the swing of doors and handles. List storage needs from dinner services to pet food tins. Decide early whether you need seating at the island, a separate coffee nook or space for a fridge with French doors. Estimate a budget band and prioritise must-haves, then share the document with your designer or builder for reality checks.
When to use a kitchen designer
A professional designer lifts a renovation beyond flat pack substitution. Engage one when walls might move, ceilings could be raised, or plumbing relocates more than a metre. Designers coordinate vent shafts, waterfall ends, mitred corners and power points inside drawers so your final space feels intentional rather than patched together. They also prepare drawings and specifications that certifiers require under the National Construction Code, saving back and forth with local council. For accessibility goals, a designer versed in AS 1428 and AS 4299 ensures clearances and heights meet both code and comfort.
Frequently asked questions
What is the best kitchen layout for an Australian home
There is no single best plan. Match a galley or one-wall to narrow rooms, choose an island for entertaining in larger open spaces, and consider a U for maximum storage where floor area allows.
Is the work triangle still relevant
The triangle remains handy for solo cooking, yet modern multi-cook households often gain more from clearly defined preparation, cooking and cleaning zones.
How much space should surround a kitchen island
Plan at least one metre on all four sides, and increase to 1200 millimetres when two cooks will pass each other or when seating lines one edge.
Should the sink or the cooktop go on the island
Either works. A sink supports preparation and keeps messy pans near the dishwasher, while a cooktop creates a social performance zone. The choice hinges on ventilation paths, safety around children and personal cooking style.
Can a small kitchen include an island
Yes, provided clearances reach the minimums. Sometimes a rolling butcher’s block or a peninsula delivers similar benefits without crowding the room.
What drives kitchen renovation costs the most
Custom cabinetry, stone benchtops and premium appliances usually outrank labour. Moving services across the room or dropping a slab for drainage can also spike spending.
How does Australian regulation affect layout choices
The National Construction Code sets ventilation, waterproofing and health rules. AS NZS 3000 governs electrical points and clearances, while plumbing codes dictate waste connections. Layouts must honour these provisions or risk costly redesign later.
Do I need council approval to change my kitchen
Many cosmetic swaps avoid permits, but structural changes, window additions or new drainage points can trigger approvals. Always confirm with your certifier or council planner early.
Get help planning your kitchen layout
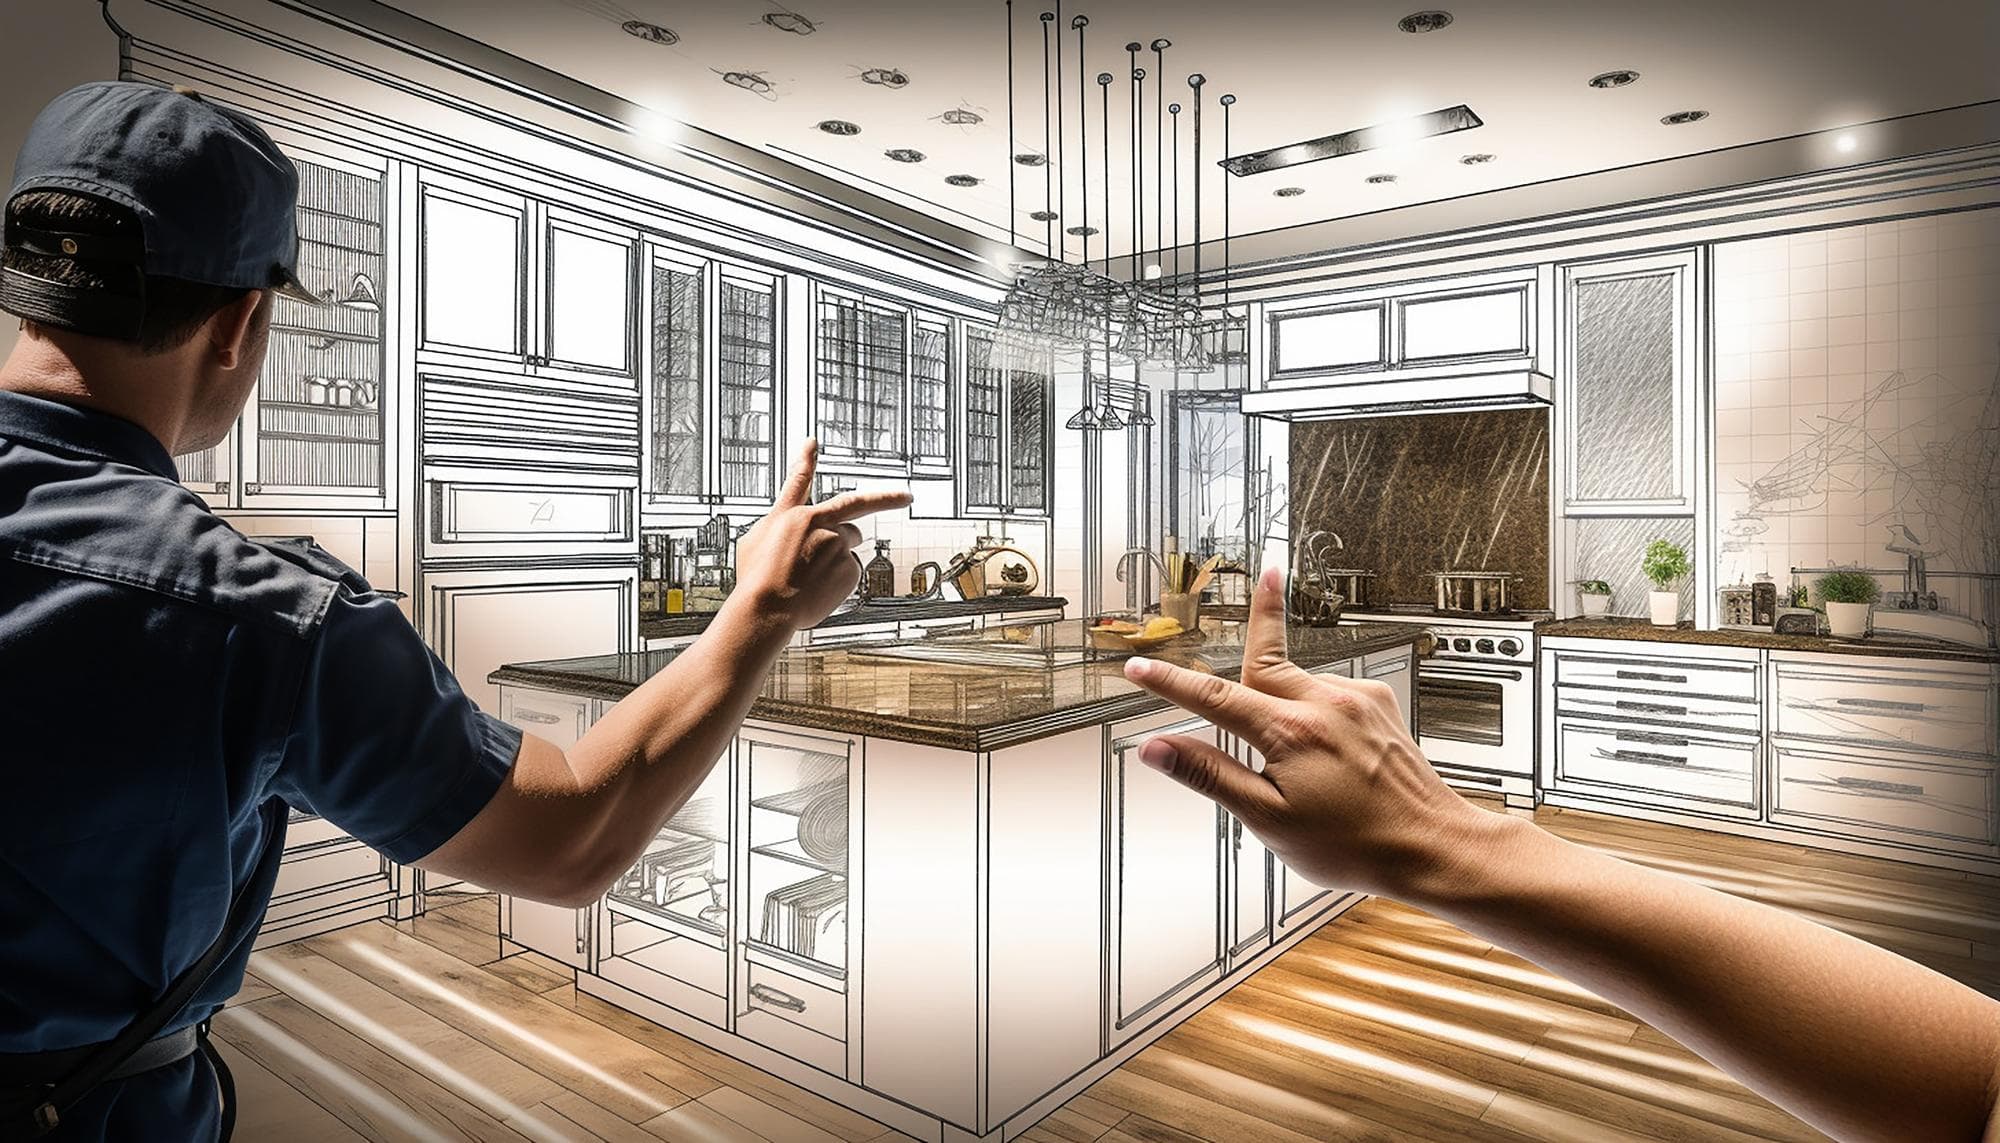
If you want a floor plan that marries regulation with style, book a design consultation with our team. We measure, model and cost multiple options so you choose the layout that feels right long before the first cabinet arrives.